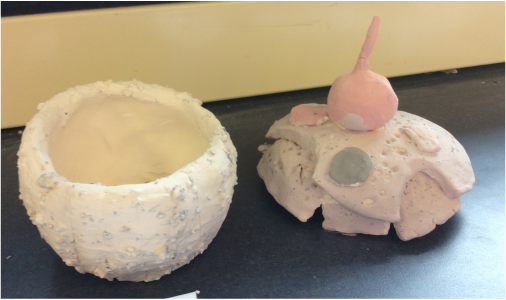
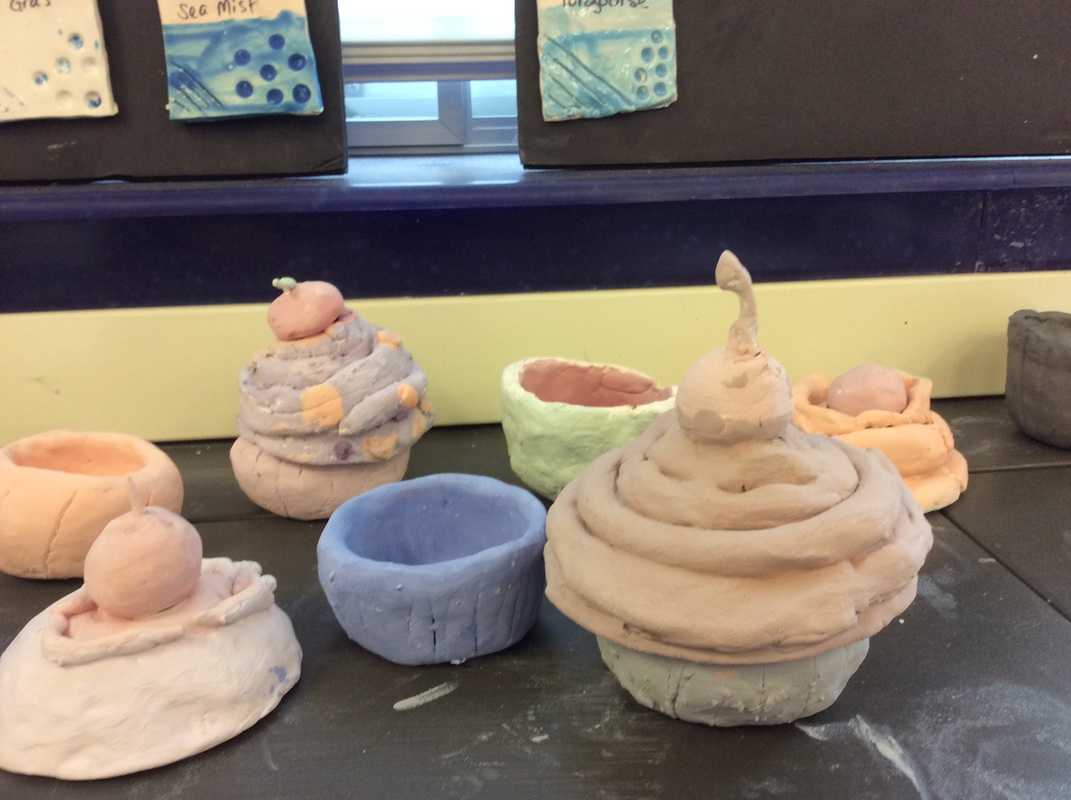
Mrs. Rogers and Mrs. Fillinger's class used wet clay last week. They used a pinch pot technique to create a 2 part clay cupcake container.
Steps of the project:
PINCH POT
1. Roll clay pieces into 2 balls
2. Choose the larger ball and hold it with your non-writing hand
3. With your writing hand, press your thumb in the center of the ball pretty far down without breaking through the other side of the clay.
4. Using the rest of your fingers on the outside of the clay, pinch and squeeze all the way around. Keep moving your hand downward until you have pinched in circles multiple times giving your pinch pot even thickness. Be careful not to pinch your edges too much.
5. Smooth out any cracks or uneven sections.
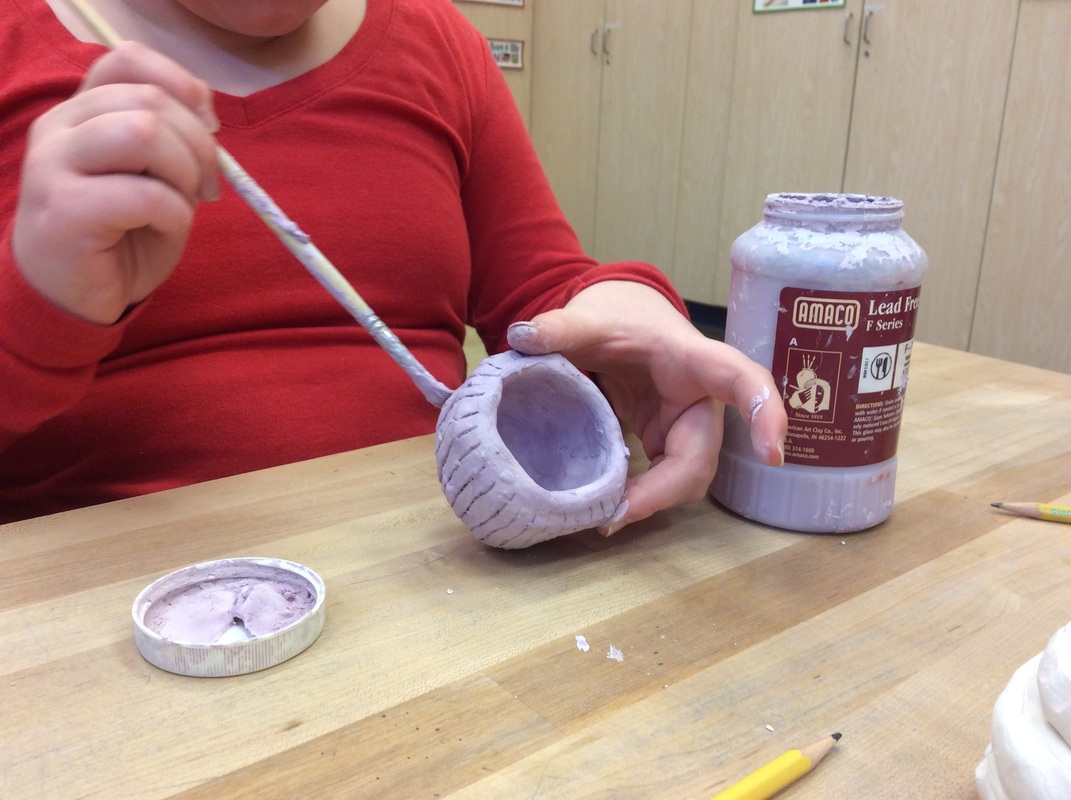
6. Use a pointy wooden tool to carve in vertical lines all the way around the pinch pot. These represent the folds in the cupcake wrapper.
CUPCAKE TOP
1. Take the smaller ball of clay and use both thumbs to press into the center of the clay gently.
2. Press and turn the clay in a circular fashion until you have created a shallow bowl like shape.
3. This bowl-like shape should fit over and around the pinch pot like a lid. Stretch out the shape as much as needed.
FROSTING & Other Decorations
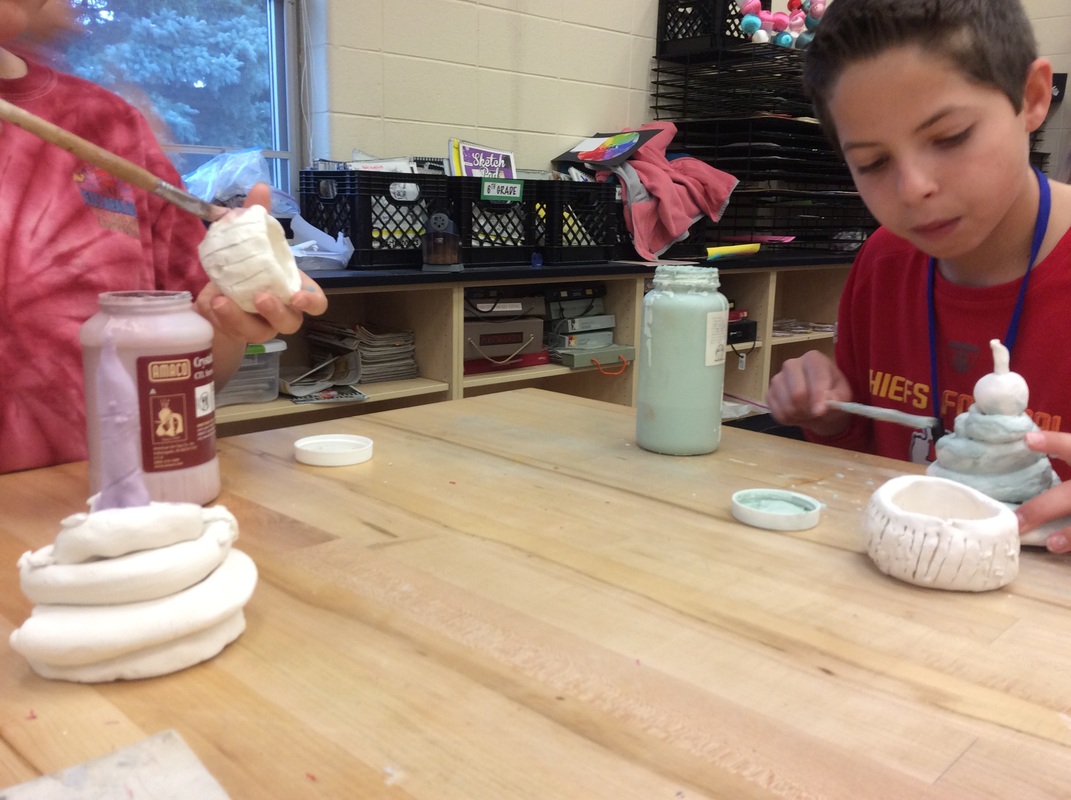
We used coil and slab methods to create the toppings for our cupcakes. We used the score and slip method to attach all of the pieces together.
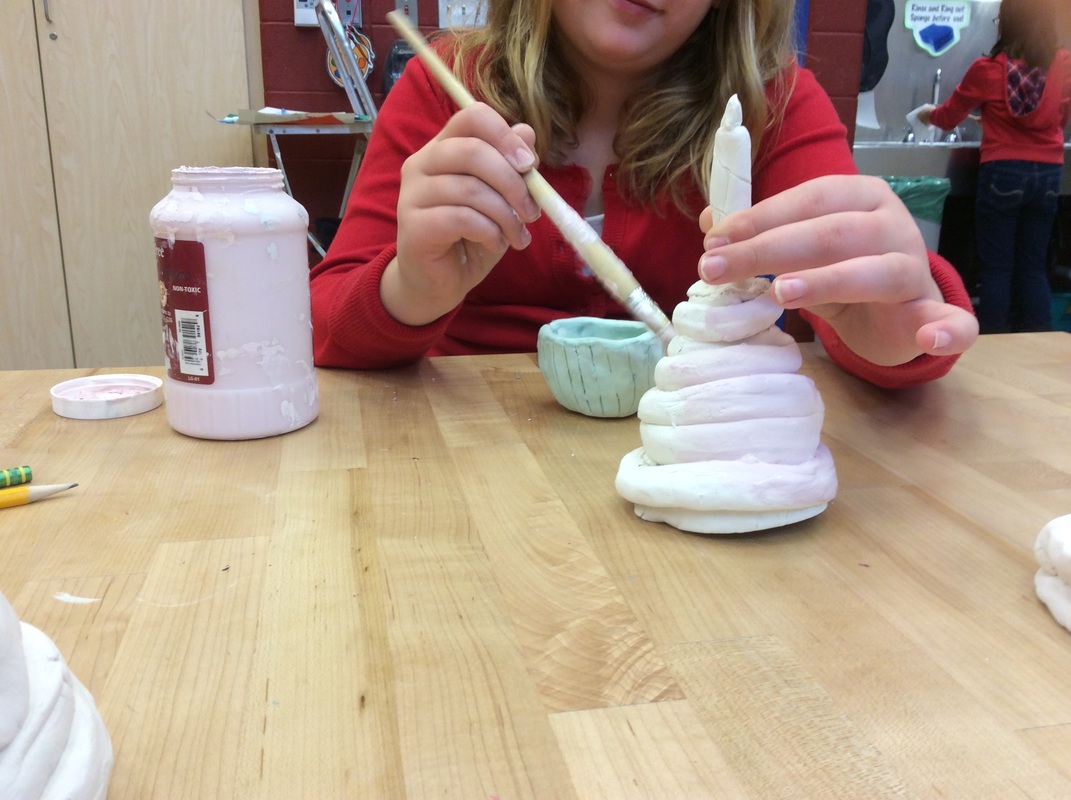
This week, their projects were fired in the kiln and they are glazing them! Here are some glaze pictures.
Steps of the project:
PINCH POT
1. Roll clay pieces into 2 balls
2. Choose the larger ball and hold it with your non-writing hand
3. With your writing hand, press your thumb in the center of the ball pretty far down without breaking through the other side of the clay.
4. Using the rest of your fingers on the outside of the clay, pinch and squeeze all the way around. Keep moving your hand downward until you have pinched in circles multiple times giving your pinch pot even thickness. Be careful not to pinch your edges too much.
5. Smooth out any cracks or uneven sections.
6. Use a pointy wooden tool to carve in vertical lines all the way around the pinch pot. These represent the folds in the cupcake wrapper.
CUPCAKE TOP
1. Take the smaller ball of clay and use both thumbs to press into the center of the clay gently.
2. Press and turn the clay in a circular fashion until you have created a shallow bowl like shape.
3. This bowl-like shape should fit over and around the pinch pot like a lid. Stretch out the shape as much as needed.
FROSTING & Other Decorations
We used coil and slab methods to create the toppings for our cupcakes. We used the score and slip method to attach all of the pieces together.
This week, their projects were fired in the kiln and they are glazing them! Here are some glaze pictures.

| 
|

| 
|

 RSS Feed